A floating parquet floor is still quite popular and gains in quality. Its most significant asset is that it suits almost any decor. Moreover, its installation is relatively straightforward. Here are the basic guidelines.
- A few days before the installation, lay the planks in the specific room to allow them to get acclimated.
- Make sure the solid base on which the floor will be installed has no trace of moisture.
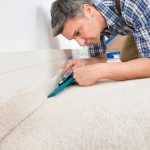
- There is no need to remove the existing floor (unless it is carpeting) to install the floating parquet floor as long as it is properly levelled so that the surface is clean and smooth.
- You will need to install a membrane to stifle sounds and vibrations. It will also act as a thermal insulator. It can be made of polyethylene foam or cork.
- When laying the planks, make sure to leave a gap of approximately 10 millimetres between the floor and wall to allow the wood to move freely when humidity and temperature variations force it to expand. Otherwise, the planks will curl.
- Begin with the straightest and longest wall, uninterrupted by the door for example, and finish with the wall with the most cut-outs. Thus, the imperfections will show less.
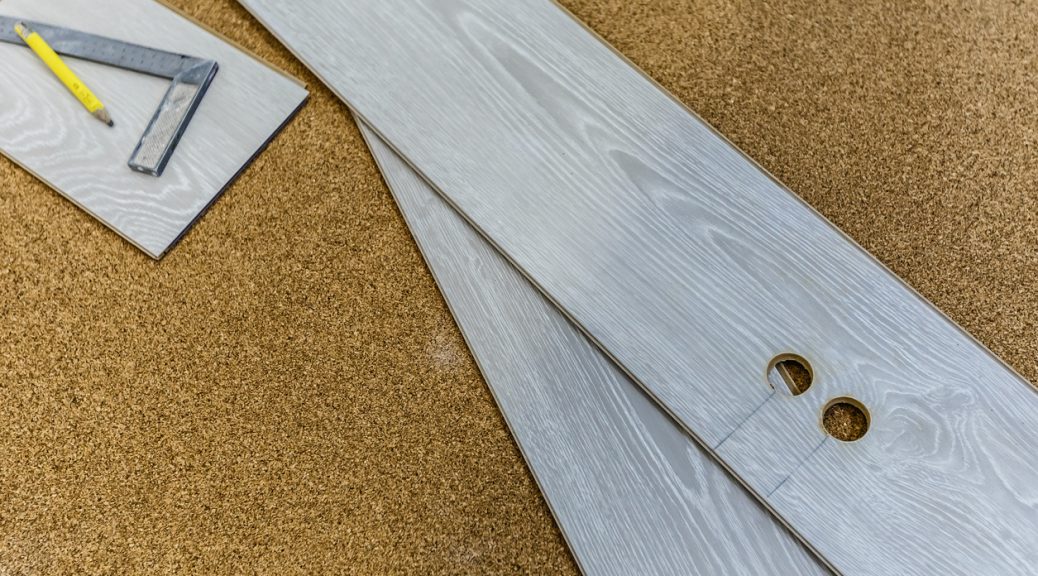
- All kinds of spacers, long ruler or string, can help you keep a consistent gap around the room’s perimeter. Baseboards or quarter-round moldings will hide the joint along the walls.
- It is preferable to arrange the planks parallel to the length of the room. This gives a certain perspective and is more pleasing to the eye.
- Stagger the end joints of every plank from row to row as you would do for a brick wall.
- Floating parquet flooring consists of a tongue and groove system where the planks come together usually by clicking to one another and sometimes with glue.
- The floorboards interlock easily with each other. Otherwise, a slight rubber mallet stroke will overcome the resistance of a recalcitrant plank.
- If the chosen parquet floor requires glue, use clamps to keep the sections together until the glue dries.
- Immediately remove excess glue that may leak to the surface when clamping the planks.
Last tip: cut your planks outside or in the garage to avoid the burden of dusting everywhere.
As long as you have the right tools and are well prepared, you should see your room transform within one single day.
Images: iStock.com