Installing picture rails, wide baseboards, quarter-rounds and paneling gives interiors a rustic style that goes particularly well with old homes. And contrary to popular belief, the work is fairly easy to do.
There are several points to consider to improve the paneling’s installation and final appearance. In so doing, you ensure that the new decor will stand the test of time. And you also make the practical aspect a pleasurable one.
Since paneling is a living material, it’s essential to take a room’s humidity rate into account. Wood expands or contracts depending on the season. You have to expose recently-purchased paneling to a humidity rate similar to the room where it will be installed. To achieve this, you leave the packages of paneling lying around the room for a few days before undertaking the work.
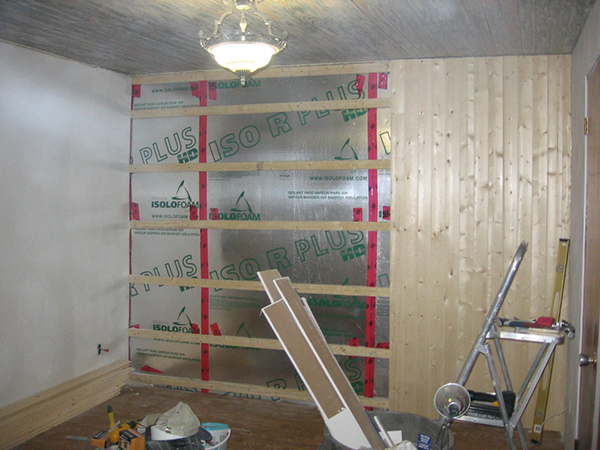
Make sure to have a solid backing. If the wall is new, installing wood laths perpendicular to the paneling is ideal, depending on the desired direction of the paneling. If the wall has already been covered, use of glue is recommended to ensure that the paneling is solid.
Measure the wall at the top and the bottom. That will help you to evenly distribute the wood laths, because you probably won’t get exactly the same measurements at the top and bottom. Divide the measurements by the width of the panel strips that you’ve selected. Installation of the paneling will be easier if you have at least one inch of material.
Here’s an example:
| Measurements of wall near ceiling | 144 inches |
| Measurements near floor | 145 inches |
| Width of paneling | 3 inches |
At the top of the wall, there’s no problem horizontally because all the wood laths are whole. At the bottom of the wall however, there’s an inch to fill in. Installing a part of the panel from zero to one inch will be difficult. To correct the problem, simply start with a half-lath of panel. At the end of the job, you’ll have a half lath at the top and almost a whole lath (panel) toward the bottom.
Keep in mind that the vertical position of the first panel from the very beginning of the work is crucial. If necessary, adjust the width of the first panel to obtain the vertical position for the next one. Frequent verification of the vertical aspect—about every 12 inches—can prevent problems later.
Measure and cut the panel pieces according to the height of your wall. Be careful here too, because the length may vary. So avoid cutting too many pieces of wood in advance.
The same principles apply to installing paneling horizontally.
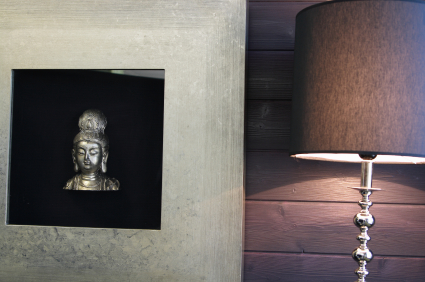
Finally, paint or stain the panel boards with colours you like. The attached photo gives you an idea of the calm, chic effect of violet combined with silver hues.
And be patient: a job well done will make you proud.
Photos : iStockphoto LP et Casarazzi