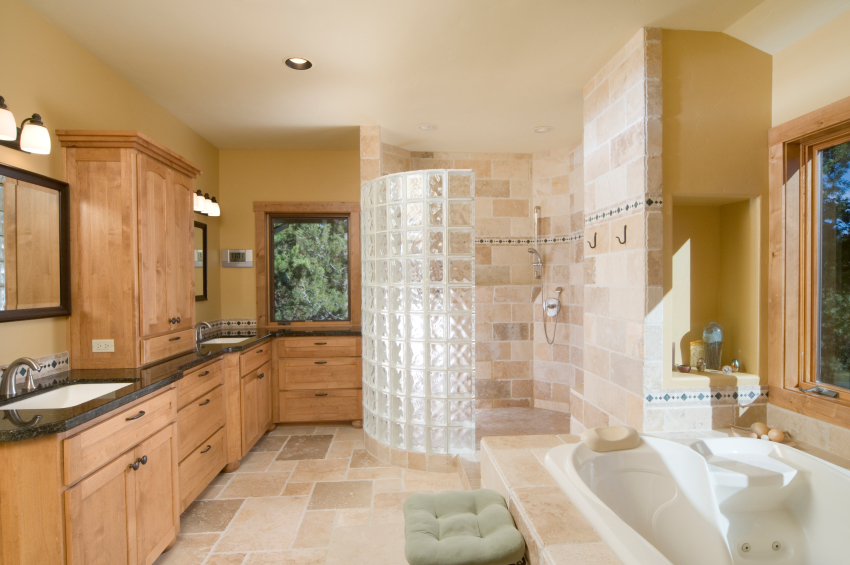
Glass bricks in a wall enhance the luminosity. Here is an example of the steps to follow (list of material at the end).
- Check for wires and pipes. Use an electrical wire detector. If not, drill a small hole, which is easy to fill.
- Is there a load bearing wall? If so, only use the space between the studs.
Measure the space to be freed up taking into account the space between the studs, the shape of the bricks, the surrounding frame and the mortar.
Space between the studs:
12’’ for old buildings
16’’ for the next generation
24’’ is becoming increasingly popular today

Standard format of glass brick:
8x8x3, 8x8x4, 6x6x3, 6x8x3 or 4x8x3
Example of dimensions to consider to transform an interior wall
- Available space: 16’’x16’’
- Wall: 4’’ thick
- Two rows of de two 6x6x3 bricks
- Mortar: ¼’’ around the bricks
- Frame: ¼’’ plywood
Calculate the space to be freed up
The 6’’x6’’ bricks require a 13¼’’x13¼’’ space:
12’’ (two 6’’ bricks) + ½’’ (¼’’ frame on each side) + ¾’’ (¼’’ space between two bricks + ¼’’ between the bricks and the frame) = 13¼’’
Delicately cut the drywall with the appropriate saw.
In the plywood, cut:
- Two beads 2’’x11’’ long and
- for the frame*, two 3½’’ x 13¼’’ pieces + two 3½’’ x 12¾’’ pieces.
Screw the frame onto a transom (2’’ x 3’’ piece of wood between two studs). The base of the frame for the bricks must be level. The angle of the four inside corners will be 45°.
Prepare a consistent mortar with just enough water. Use less water than recommended by the manufacturer whose recipe is meant for clay bricks. Add colour as needed.
- Place a ¼’’ strip on the base in the centre of the frame to guide the placing of the ¼’’ of mortar
- Spread the mortar over the base of the frame
- Place the first brick in the corner, on the mortar, pressing lightly
- Before placing the second brick, spread mortar on the side that will touch the first brick
Second row: redo steps 1 to 4
Fill all joints with mortar and remove the surplus as you go along, without putting pressure on the bricks. Fill the space between the wall and the bricks, otherwise moulding will be necessary.
Wait 4 hours and smooth out the joints with a jointer.
Wait 48 hours and wash the glass with a damp cloth.
Material required:
- Pencil
- Measuring tape
- Level
- Drywall saw
- Glass bricks: 8x8x3, 8x8x4, 6x6x3, 6x8x3 or 4x8x3
- Drill and screw (more stable than nails)
- Circular saw (or have the cuts done)
- Trowel for the mortar
- Pail and water
- Mortar (resistant to humidity as needed)
- Coloured powder for the mortar (available in masonry stores)
- Jointer
- Cloth
- Wood for the frame* and strips: ¼’’ plywood (sturdier and flatter) or 1’’x3 ½’’ softwood planks (not warped) for the frame and ¼’’ x 1’’ for the strip.
*A deeper frame (7’’) allows you to build a niche on one side and a table on the other side of the wall. The frame can be stone or hardwood.
Thanks to Alex, a mason who shared his knowledge with us.
Photos: iStockphoto
